Our guild, NELA Modern Quilt Guild, has run a 10 month/ 10 member traveling quilt bee that is now coming to a close. It has been such fun and more challenging than I expected. Many of us were at a standstill as we tried to get started on blocks for the quilts of the other members. We really had to get out of our comfort zone and try new things.
Some of us set themes, or color schemes, and some were ‘anything goes’. Mine was a Louisiana theme and my quilt top made it home just this past weekend.

Starting at the top left corner, you can see St Louis Cemetery (New Orleans), piano keys (think jazz), Who Dat Owl for LSU (because who doesn’t know LSU football?!), raindrops (and I love the rain! :-D), there is a paper pieced crawfish and alligator, a turtle, farms and catfish ponds, Louisiana state block (flying pinwheels), an oil rig and in the center the very first block, a map of New Orleans! And the quilt is so much prettier in person. The colors are brighter. There’s Essex Linen in some of the squares that look awesome. It is such a fun quilt and I’m so proud to have it home.
 Kelly started my quilt with the map of New Orleans and included these cards for everyone to write a note. This was awesome! They included notes or backstories on why certain blocks were created which just made them more special. They also included my name and address. That helped everyone remember whose quilt they were working on. Very helpful! I definitely want to include that idea for next quilt bee we do.
A huge thank you to everyone in this bee. It has been so much fun to watch everyone’s quilt come together. And it has definitely made me exercise my creative muscles.
If you would like to see the other quilts as they are completed, go to our Pinterest board. I’m loving the quilts coming in!
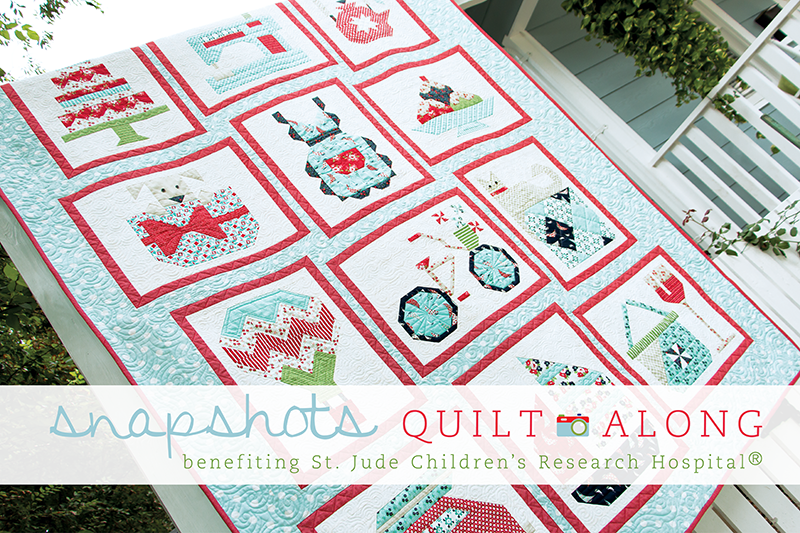 Have you seen the


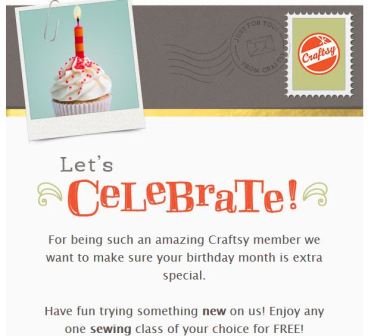 And today, this shows up in my email…


